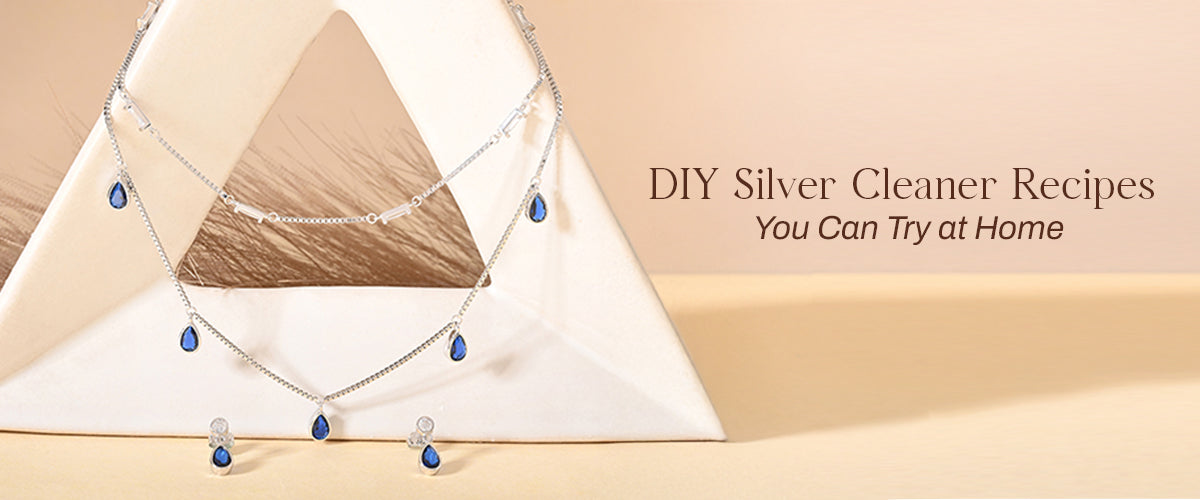
DIY Silver Jewellery Cleaner Recipes You Can Try
Silver jewellery always looks good since it shines and helps any clothing look better. But over time, rust dulls this brilliance, turning objects that were once wonderful into things that people forget about. These tried-and-true recipes on this blog will show you how to produce silver polish at home. Your old bracelets, rings, and bands will look like they just came out of the box. Find out what common home items work best for cleaning different kinds of silver and what you need to do to maintain your silver shining naturally and safely.
Baking Soda and Foil Method
-
Wrap aluminium foil around the inside of a glass or ceramic bowl, making sure the shiny side is facing up. This plate is one of the electrodes of our little battery. It is highly necessary for the chemical exchange to work. Put your old silver jewellery right on the foil, making sure that each piece meets the metal surface well.
-
Put a lot of baking soda (sodium bicarbonate) on the paper and silver. You should use one to two tablespoons for every cup of hot water, but not boiling water. You can also put a little salt in the mix. This will speed up the process by making the solution more conductive. Pour the hot water over the silver slowly, ensuring that all of the pieces are covered and the baking soda has dissolved.
-
You should let the silver sit in this for 5 to 10 minutes. You could leave the things alone for up to 30 minutes if they are really damaged, but you should check on them periodically. The baking soda, aluminium foil, and boiling water have now come together to make an electrolytic cell. When silver tarnishes, sulphur ions are drawn to aluminium foil. This leaves behind the silver that is pure.
- When the silver seems clean, carefully remove it out of the hot solution using tongs or a spoon that isn't made of metal. Don't put your hands in the boiling water. Rinse each item well under cool running water to get rid of any baking soda that may be left behind. Finally, dry the silver completely with a delicate cloth that doesn't leave lint behind.
Discover how easy it is to restore your jewellery’s brilliance with a DIY silver cleaner using ingredients you already have at home.
Vinegar and Baking Soda Soak
-
Put your bubbly cleaning solution in a bowl that isn't made of metal. Glass or clay is the finest choice. Mix together two tablespoons of baking soda and half a cup of white vinegar. The vinegar and baking soda will start to froth and bubble quite fast when they mix. This bubbling helps to get rid of dirt and rust that is stuck to the silver. Before you move on, let the fizzing settle down a little.
-
Put your unclean silver jewellery in the vinegar and baking soda mixture carefully. The liquid needs to cover all of the silver. The tarnish will determine how long the soak lasts. For minor rust, soaking for two to three hours might be enough. You can let the silver soak overnight if the tarnish is particularly serious.
-
After the soaking period is up, take the silver items out of the solution. If there is still metal on the piece, you can gently scrub it with a clean, old toothbrush or a soft cloth. Pay careful attention to complicated patterns where tarnish likes to build up. The residual baking soda will be a very soft abrasive that will gently remove whatever discolouration that is still present.
-
Run cool water over the silver multiple times to make sure that all traces of the vinegar and baking soda solution are gone. The drying stage is very critical to stop new rust from forming. Dry the silver jewellery all the way through with a gentle cloth that doesn't leave lint. You can make the silver shine even more by gently buffing it with a clean, soft cloth.
Lemon Juice & Salt Polish
To make a thick paste, combine fresh lemon juice and fine table salt in a small bowl that isn't made of metal. It should feel like toothpaste: thick enough to stick to the silver but thin enough to spread. The citric acid in the lemon juice is what truly does the trick. The salt grains gently rub off the tarnish on the silver sulphide.
With a soft cloth, cotton ball, or a clean, soft-bristled brush, such as an old toothbrush, put a lot of this lemon-salt paste directly on the parts of your silver jewellery that are broken. Use little rolling motions to put the paste on the silver. Take a close look at the portions that have changed colour. You might be able to see the rust moving away from the cloth as you brush it. Use the soft brush to carefully work the paste into places that are hard to reach, making sure that it covers the whole area.
When the tarnish seems like it's gone, wash the silver very carefully under cool running water. You have to wash off all of the lemon-salt mixture since any that is left behind could attract dirt or keep reacting with the silver over time. After you rinse the silver, dry it right away with a soft cloth that doesn't have any lint on it. If you rub a clean cloth over dry silver, it will shine even more.
This method is safe for most sterling silver, but be careful with gemstones that are weak or fragile. If you want to keep the finish on silver that has been intentionally oxidised, don't use this method.
Bring back the sparkle with an effective homemade silver polish that’s gentle, safe, and budget-friendly for everyday use.
Lemon Essential Oil for Silver Shine
-
How to Make a Soft Polishing Mixture: Add two to three drops of lemon essential oil to a spoonful of olive oil or jojoba oil. This will help the oil do its job better. You can also use a soft, lint-free cloth with just one drop to buff. The carrier oil helps the essential oil spread out evenly and makes a coating that protects the skin without making it greasy. This layer can keep air and moisture away for a short time, which can help slow down tarnishing in the future.
-
Applying and Gently Rubbing: Put some of your essential oil blend (or simply the oil on a towel) on your silver jewellery that is a bit tarnished or clean. Use a gentle, lint-free cloth to lightly stroke the silver. You should move in little circles with light pressure. The silver will get brighter and have a little shine to it. It helps get rid of light stains that make the surface look dull, revealing the natural shine below.
-
Thorough Rinsing and Drying: If there is still oil on the surface after cleaning, use a separate clean, dry, soft cloth to gently wipe it off. The silver shouldn't feel greasy; it should feel smooth and clean. This way works well on plain silver or jewellery with stones that are firm and don't hold water. Essential oils can soak into porous stones like pearls, opals, or turquoise and change colour or harm the stones.
When to Avoid DIY Cleaners
-
Porous or Soft Gemstones: Most of the time, do-it-yourself treatments that include soaking or using light abrasives won't work on jewellery containing soft, porous, or organic gemstones. But if you get these stones wet with boiling water or acidic items (like vinegar or lemon juice), they could lose their lustre, change colour, get weak, or even break.
-
Intentionally Oxidised or Patinated Silver: They chose to oxidise or patinate the silver to make it look black. This was done to improve the look of the pattern. You can clean this yourself with either rough pastes or paper and baking soda. These two factors will make the shine less bright, which will make the artwork look less unique and less contrasting. To clean silver that is tarnished, use soap and gentle water. Don't rub too hard on the dark patches.
-
Antiques or Valuables: You should talk to a qualified jeweller or restorer if you have really old, valuable, or ancient silver. Some of these things might get damaged even by the simplest do-it-yourself projects because they have thin settings, unusual finishes, or are old and valuable. Someone who knows how to clean it can look at it and advise you on the best and safest method to do it.
Browse the Touch925 collection to find timeless silver jewellery that’s worth every bit of care and craftsmanship.